Elderberry is gaining in both recognition and popularity in the US. Many people are interested in establishing an elderberry bush or two in their garden or back yard. Potted elderberry bushes can be purchased online and at some nurseries specializing in native species. Through research done at the University of Missouri and other universities a few named varieties or our native elderberry, Sambucus canadensis ssp nigra, have been established. Those named varieties include Bob Gordon, York, Nova, Wyldewood, Adams and Ranch. These varieties continue to be studied and improved through selection for desired traits.
Through our own growing experience, we have become quite fond of both Bob Gordon and York because they seem to be the hardiest and produce the biggest, sweetest berries. We propagate our elderberries using woody cuttings, and we take the cuttings from the hardiest and healthiest bushes we have in our orchard. You can purchase cuttings directly from us or, if you are the adventurous type, you might want to try making your own elderberry woody cuttings. All you need is a healthy elderberry bush with good attributes, some clippers, a pot and potting soil or a prepared bed, and time. That elderberry bush could easily be one growing in the wild! Many wildcrafters return to their favorite wild elderberry bush each year because it reliably produces large quantities of delicious berries and such a specimen is a great choice for propagation. A wild specimen that is doing well in your neighborhood or county will likely do well in your yard too.
What are the attributes you should be looking for in a healthy elderberry bush? The best way to determine if you have a good candidate for cuttings is to observe it over the growing season, paying special attention to its flowering and fruiting habits. Is it sending up big, bright green new canes each year? Does it produce an abundance of large creamy white flower heads? Does it produce nice big berry clusters? Do the berry clusters tend to ripen evenly and do the berries have a good flavor? If the answer is yes to all of these questions, you have found your specimen!
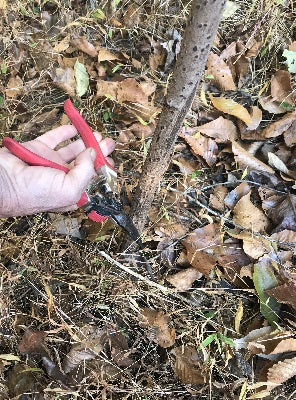
Winter is the time to propagate elderberry by taking cuttings from 2 or 3-year-old canes. The pictures for this blog post were taken in early November in order to demonstrate the cutting techniques to create a woody cutting. We are experiencing a very warm fall and have not yet had a hard freeze. To be successful, please take your cuttings after the elderberry bush has dropped all its leaves and the weather has turned consistently cold, generally after the first hard freeze. Store your cuttings in your refrigerator until you are ready to root them.
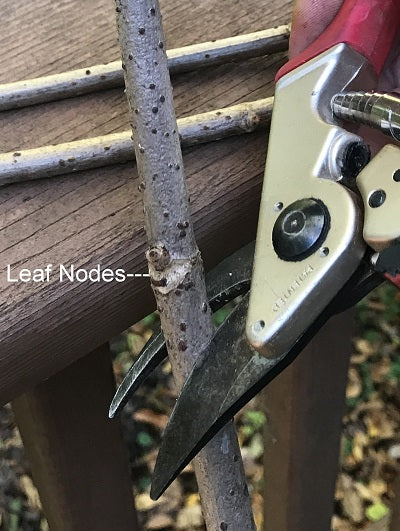
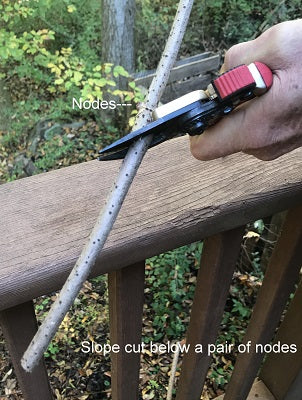
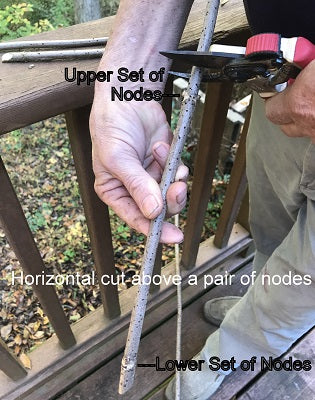
The following steps and accompanying pictures are all you need to make your own woody elderberry cuttings. For rooting instructions, please read our blog entitled How to Root Elderberry Cuttings.