
Primer for Growing Elderberries
Why Grow Elderberry?
Elderberry is quickly gaining popularity in the US for its wonderful health benefits. As the immune boosting properties of elderberry are becoming known by the American public, more and more people are interested in growing elderberry in their garden or back yard. Elderberry is not difficult to grow once established. The first year of an elderberry’s life is the most critical for its long-term health and viability and this article will cover the best practices for growing elderberry, and more!
Species to Consider
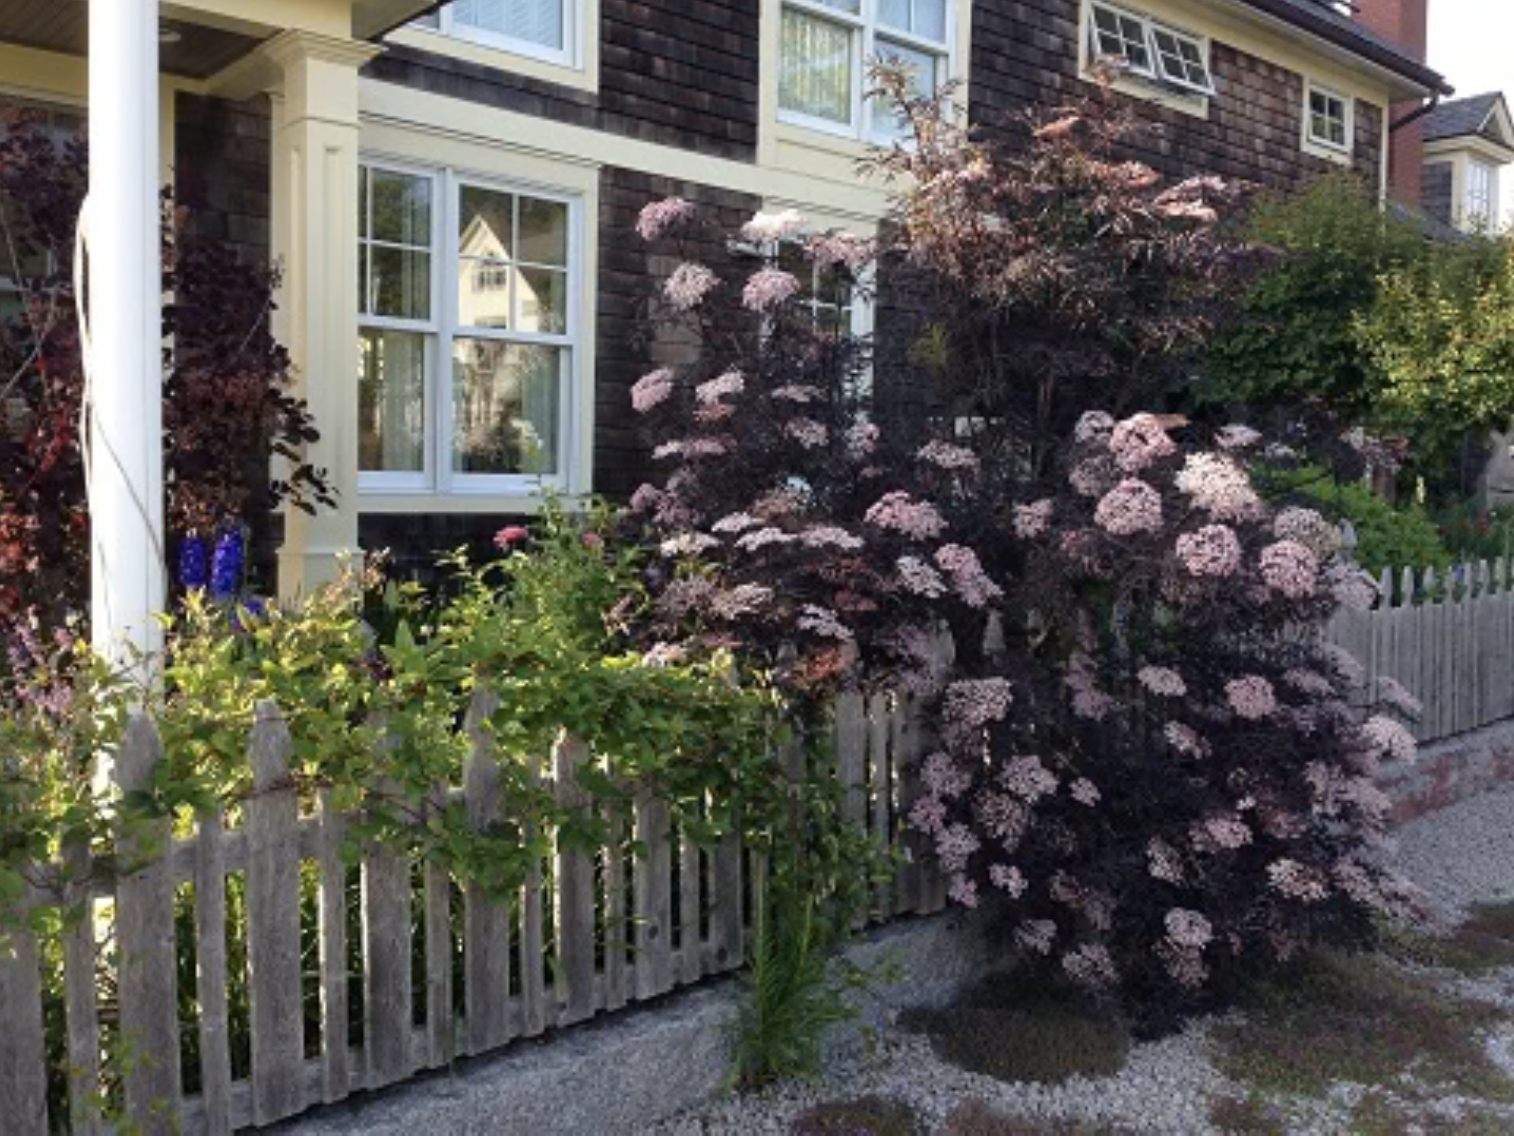
Some varieties of elderberry are beautiful and completely suitable as a focal point for a cottage or formal garden, such as the beautiful Black Lace Elderberry. Most are far more suitable planted in the back of a garden, along a fence row, or as a deciduous hedgerow, because of how big and unruly they can be.
Sambucus Nigra, the variety native to Europe, has been reported to be difficult to grow in the US. We have received reports that it may do well for you if you live in zones 3 to 8 where summers do not get terribly hot. The American Elderberry (Sambucus nigra ssp canadensis) is far more heat tolerant and will grow well here in the US in zones 3 to 9. The American Elderberry typically bears fruit that is sweeter and better tasting than the European Sambucus nigra, too.
Are Elderberries Poisonous?
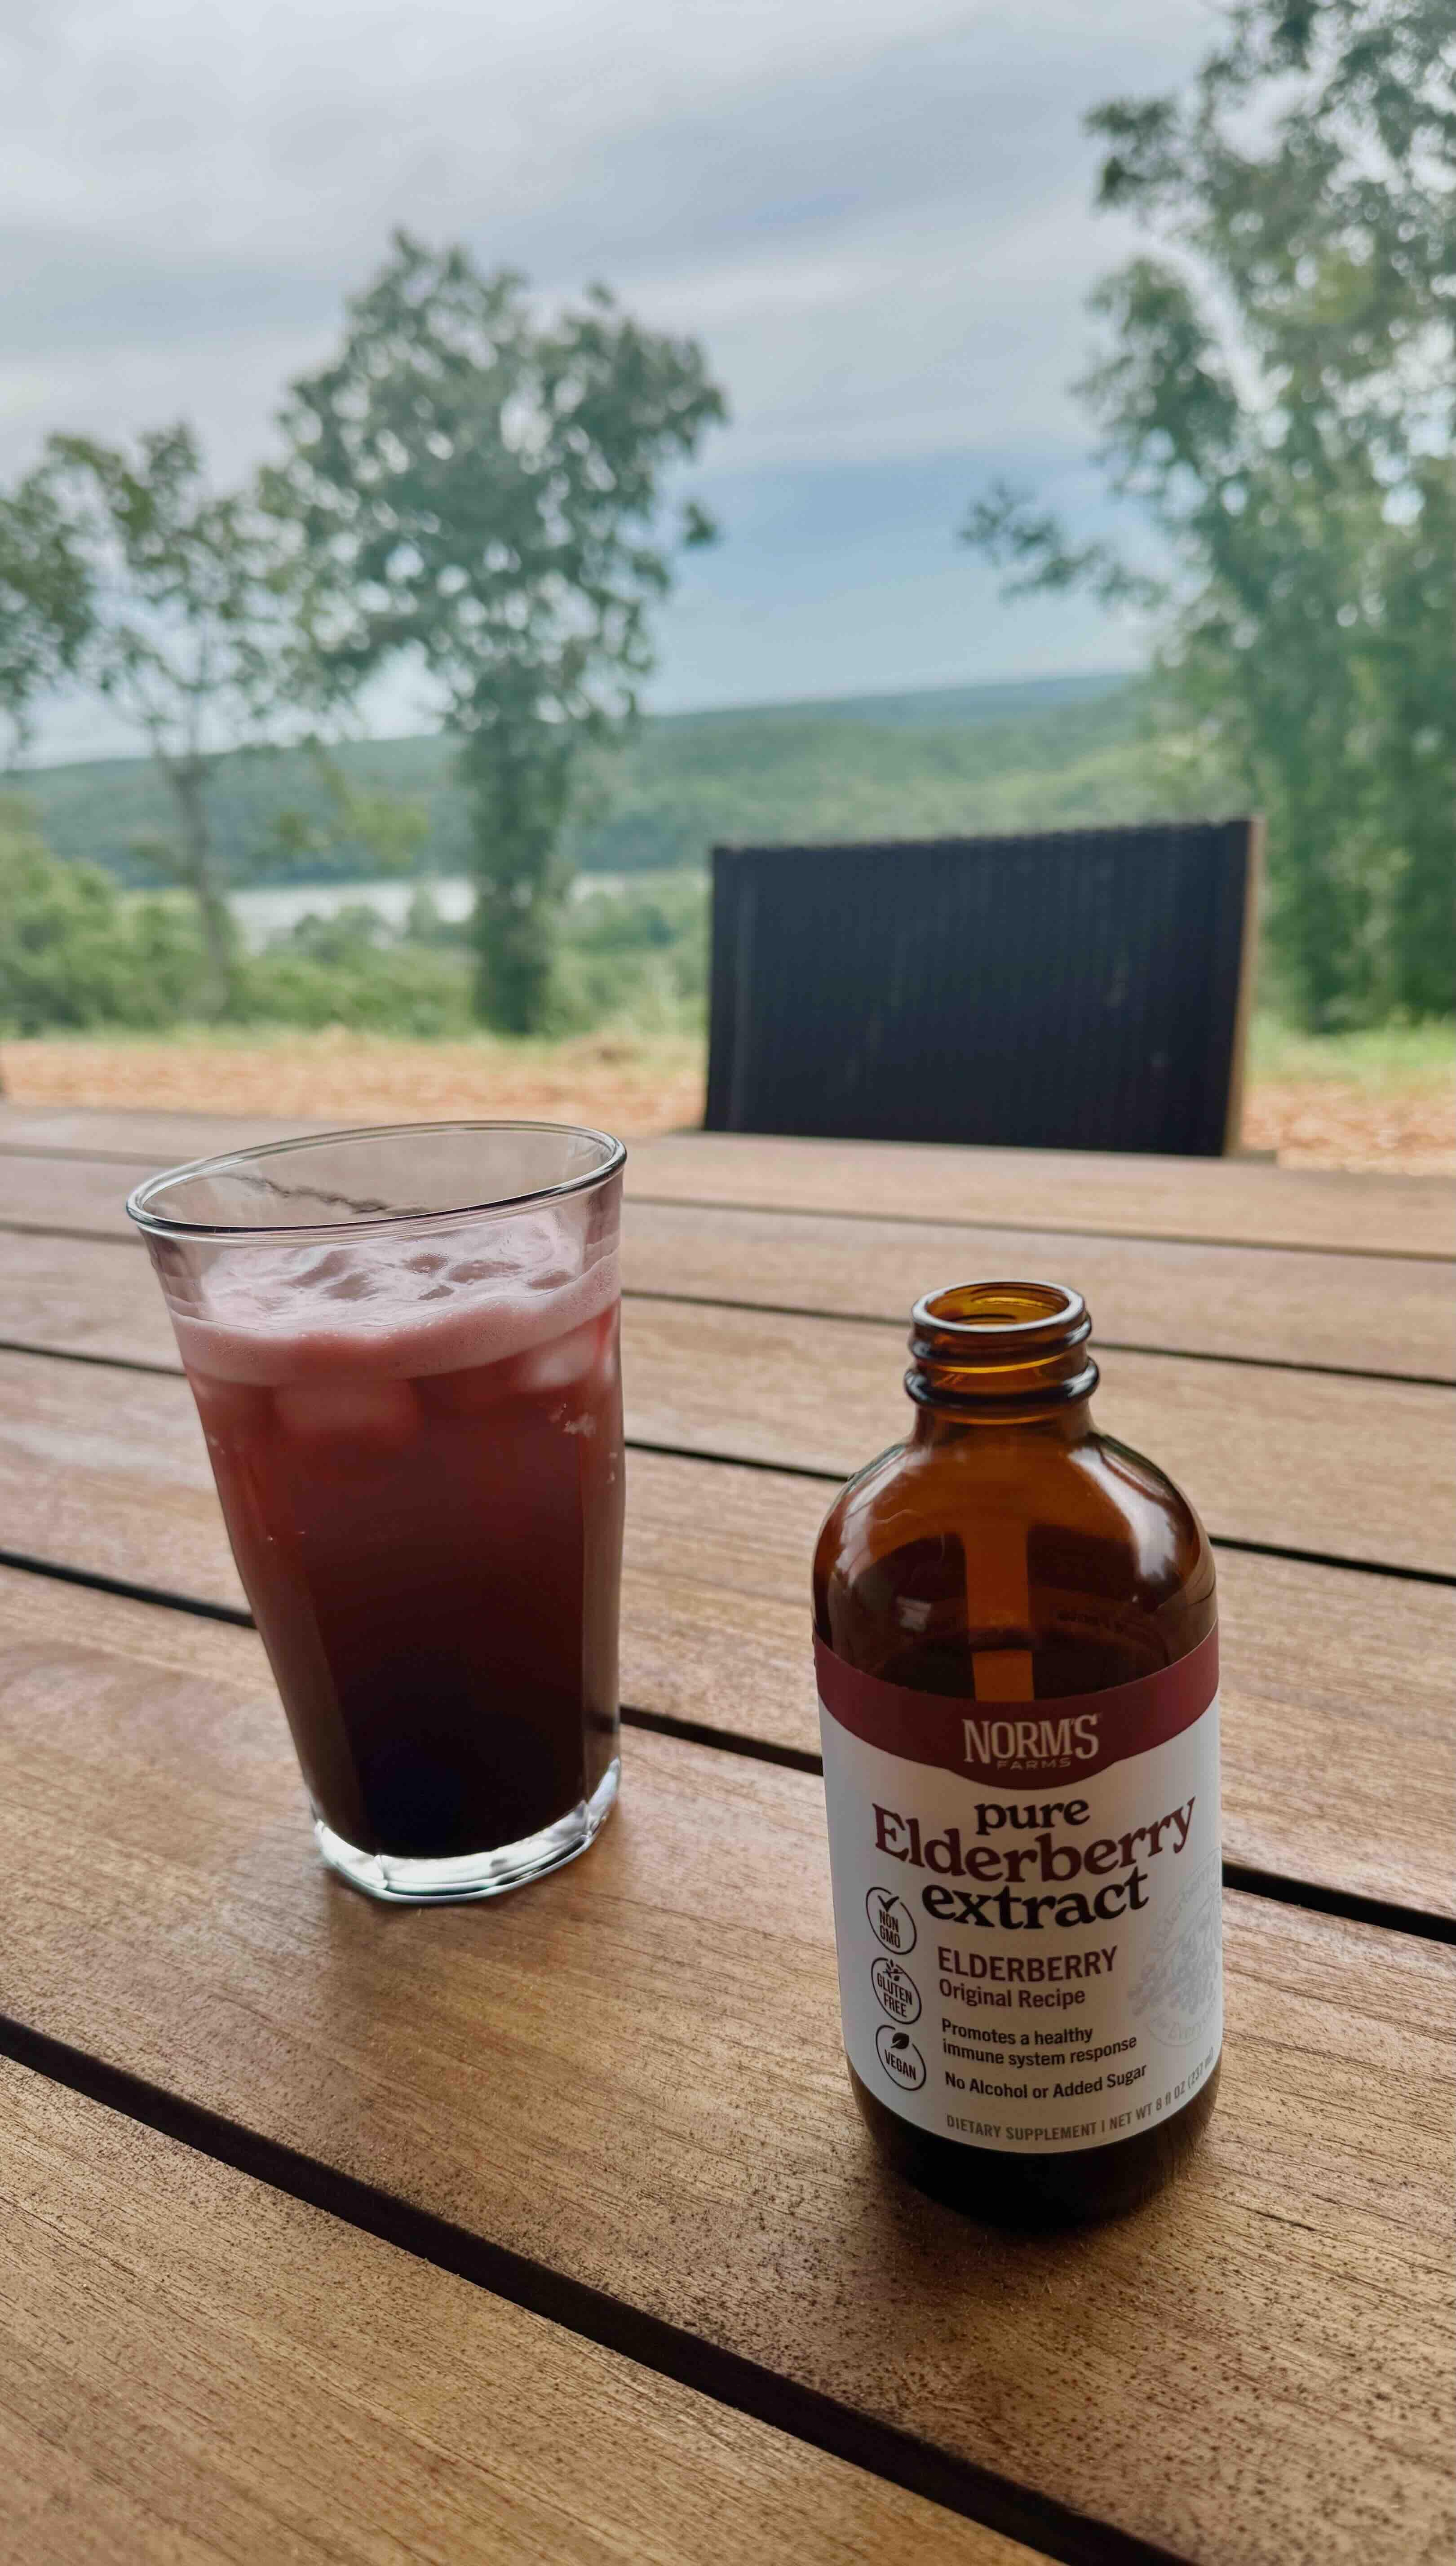
Most varieties of elderberry produce fruit that can be consumed by people, once cooked. The extract and wellness syrups we sell at Norm's Farms are fine as we do cook our berries and ensure the pH value for storage and safe use. Elderberry is a very small fruit with sesame shaped seeds that contain cyanogenic glycosides. Cyanogenic glycosides are found in apple seeds, apricot pits, and many other seeds, and when consumed in sufficient quantity, will cause stomach upset and diarrhea. The “Red Elderberry” (Sambucus racemose) is considered the most toxic of elderberries native to the US, because its seeds contain the most cyanogenic glycosides. Native to the great Northwest, red elderberry was an important staple to native Americans. They cooked the red elderberries to make jams, syrups and medicinal preparations for a millennia. Whether you are interested in growing the European Black Elderberry, (Sambucus nigra), the American Elderberry (Sambucus nigra ssp canadensis) the Blue Elderberry native to California (Sambucus nigra ssp. caerulea) or the Red elderberry, cooking the elderberries before consuming them destroys the cyanogenic glycosides that make the fruit toxic to humans.
Caring for Your Elderberry Bush
The greatest enemies of a young elderberry bush are competition from weeds and lack of water. Keeping the weeds away is essential, especially during the first year. First year Elderberries are shallow rooted plants so weeding should be done by hand or with a tool that doesn’t penetrate the soil more than a couple inches. Keeping your first year elderberry bush well mulched and weeded will do more for ensuring the survival of your elderberry bush than just about anything else you can do. Established elderberries, three years old and older, develop significant tap roots and will withstand drought and heat.
Elderberries need a good drink of water every week during their first year. Elderberries are often said to be a plant that “sleeps, creeps and then leaps” . As such, expect most of the growth of your elderberry during the first year to be underground in the root zone. If the leaves are a healthy green don’t be alarmed if your
elderberry doesn’t appear to be growing much during the first year. Water it once per week, pull out any weeds that have taken root, and pinch off any flowers that form as you want the elderberry to be putting all of its energy into its roots during the first year. Weed your elderberry bush every spring and then give it a healthy top dressing of good organic compost, followed by another top dressing of bark mulch or rotted hay. Established elderberries tend to keep the weeds at a bay, and they will also appreciate all the help you can give them.
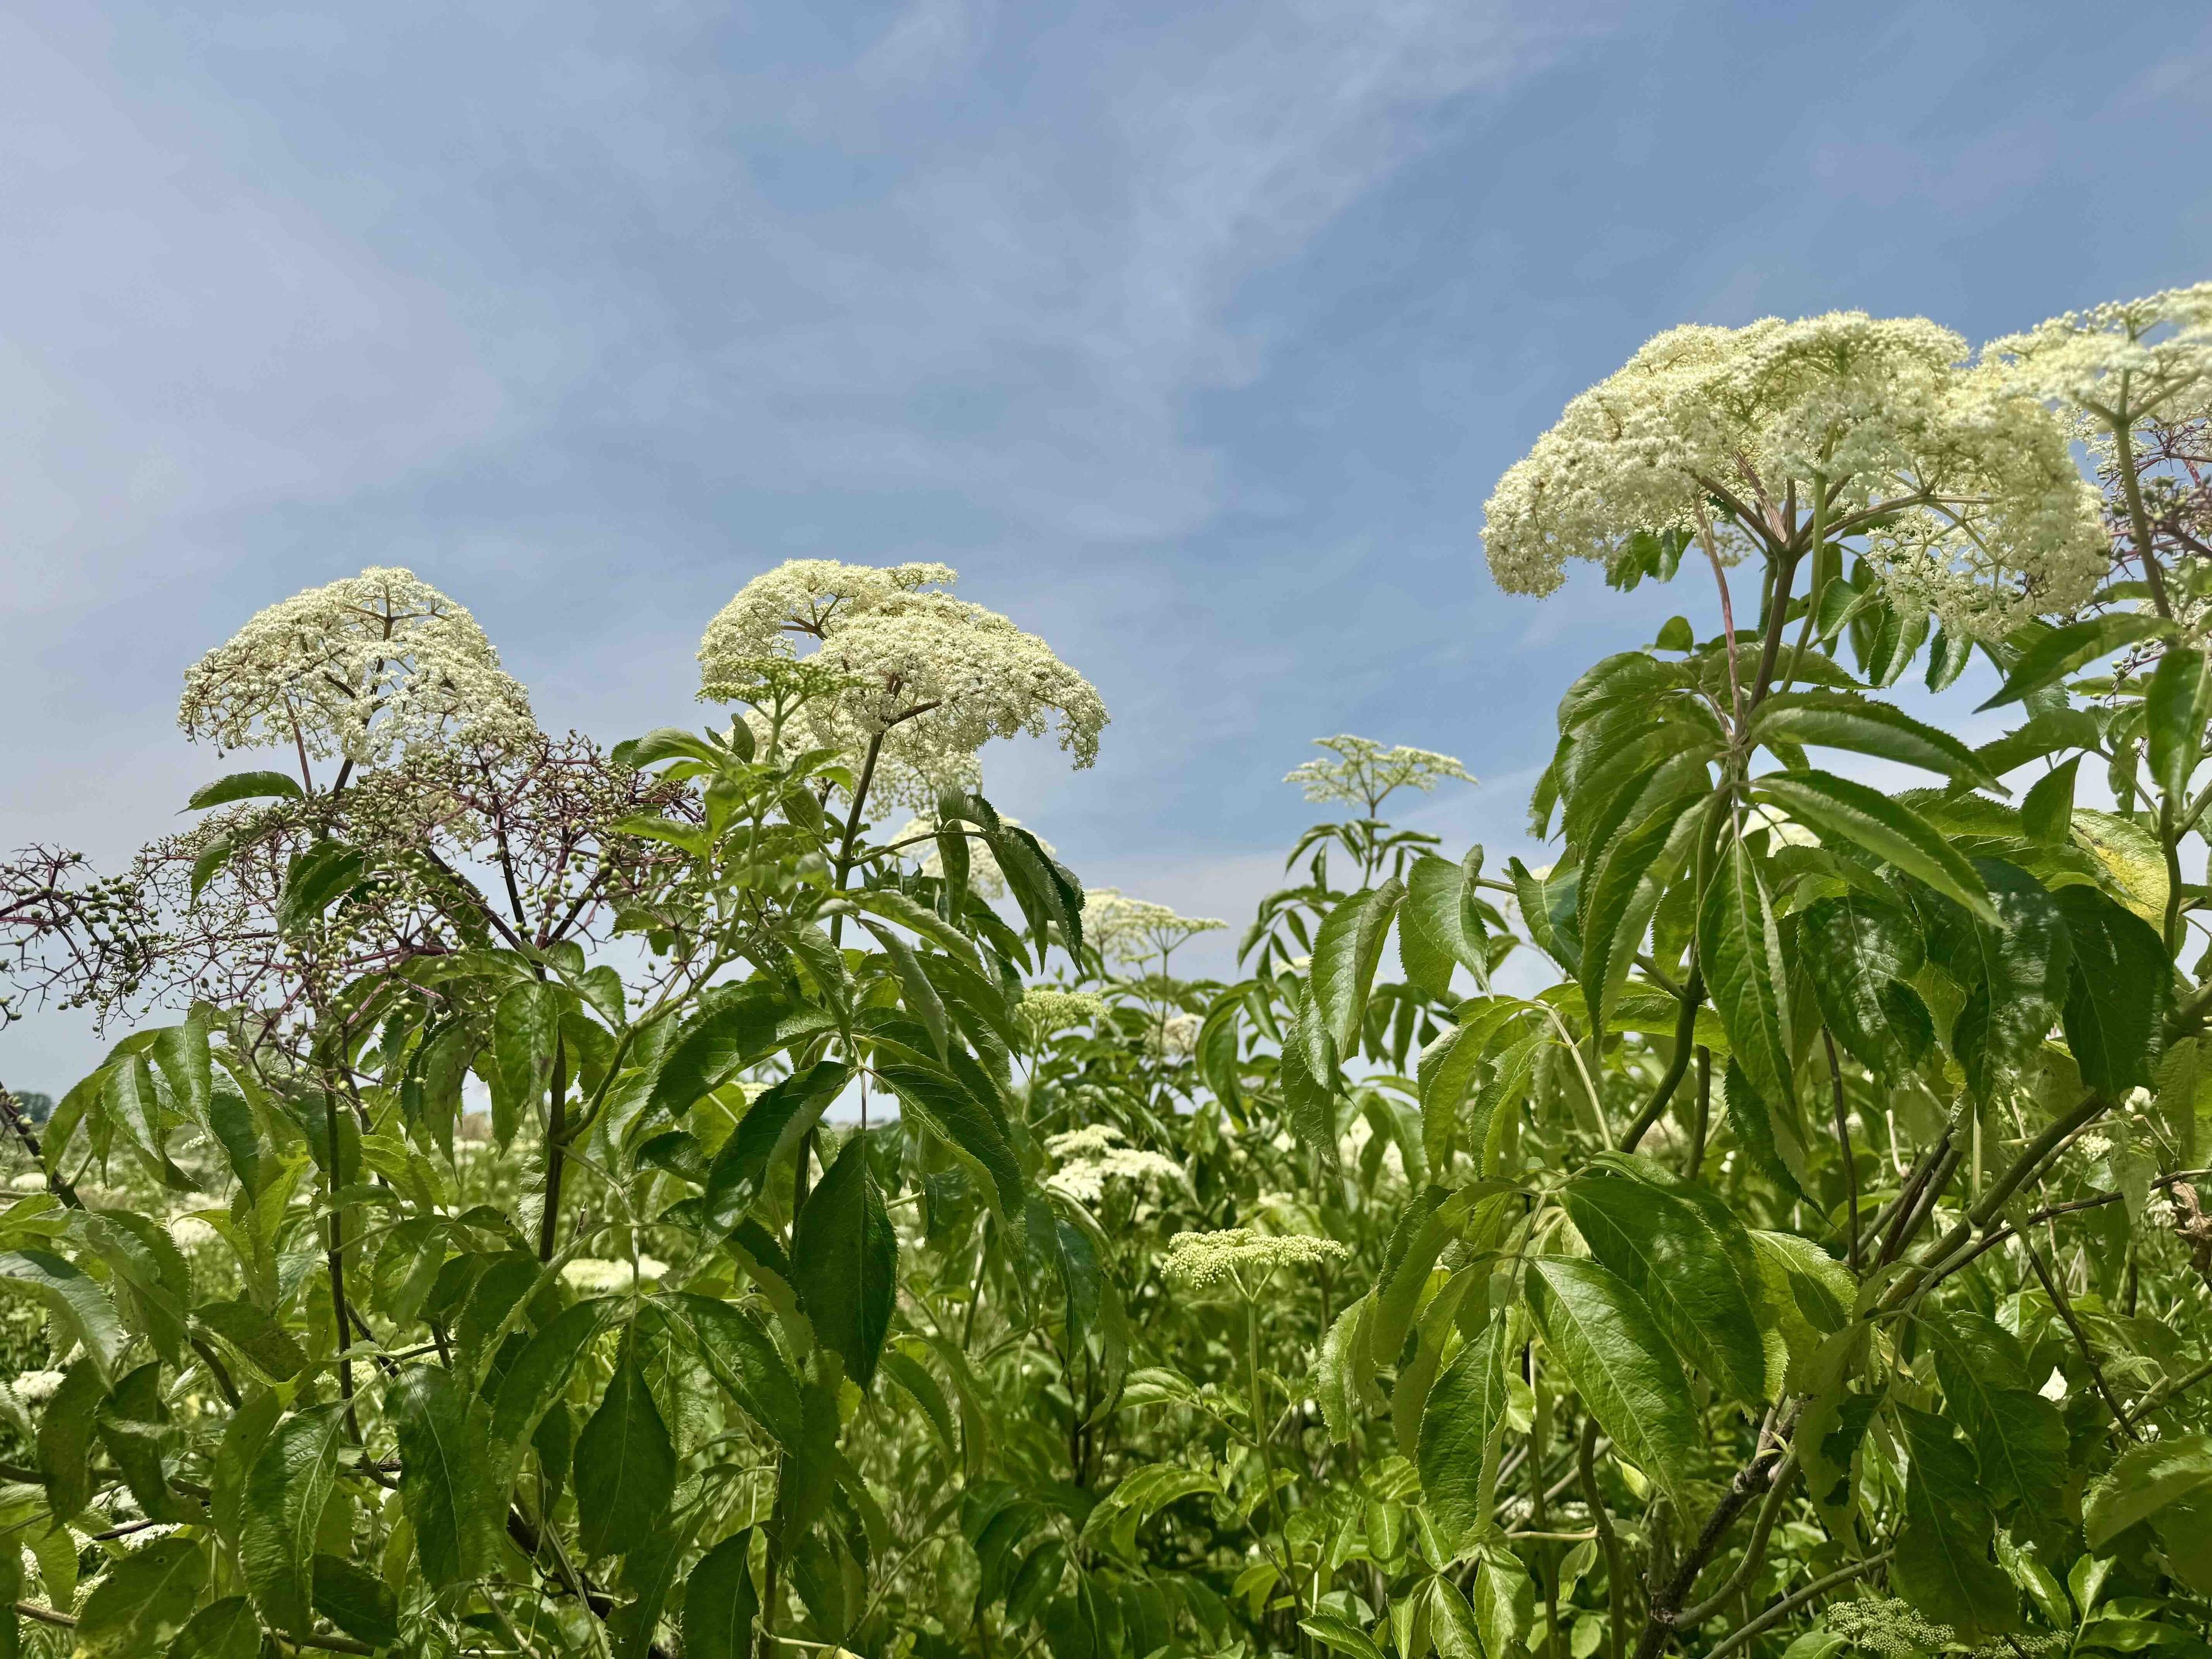
You will be amazed at the size of your elderberry bush when it is three years old! Every year in spring your elderberry bush will push up new, bright green canes and these canes often produce a single huge flower head, which will turn into a single, huge cluster of berries. If your elderberry bush is pushing up canes where you don't want them you can simply cut the unwanted cane(s) down at soil level or mow them
down. Once your elderberry bush is 4 years old its a good idea to remove the oldest canes with a good pair of snips or pruning sheers. Four year old canes will be the thickest and woodiest, and often produce less berries than the younger canes do.
When to Expect a Harvest
Because you want to pinch off all the flowers your new elderberry bush produces during its first year, all you will get that year is a harvest of flowers. Many wonderful beverages and desserts can be made with the flowers and we have several great recipes using elderflower worth trying. You can also simply dry the
flowers and use them for tea. You will get your first crop of berries in the second year if all goes well. Your first significant harvest will occur when your bush is in its third year.
Keep in mind that a good berry crop is dependent upon regular access to water, so in drought years it’s a good idea to water your established elderberries on a regular basis until the drought passes. Elderberry will always produce a larger quantity of juicy berries if they get regular watering, regardless of their age.


The Early Bird Elderberry Wellness Collection
100% Money Back Guarantee
We would love to stay in touch!
Please take a moment and sign up for our Newsletter.
Links
Services
Contact
We love to hear from our customers, natural health enthusiasts and fellow elderberry farmers!
417-522-1375
Newsletter
Subscribe for farm & store updates , tips & discounts.

Copyright © 2025, Norm's Farms