
Why Grow Elderberry?
Elderberry is quickly gaining popularity in the US for its wonderful health benefits. As the immune boosting properties of elderberry are becoming known by the American public, more and more people are interested in growing elderberry in their garden or back yard. Elderberry is not difficult to grow once established. The first year of an elderberry’s life is the most critical for its long-term health and viability and this article will cover the best practices for growing elderberry, and more!
Species to Consider
Most varieties of elderberry produce fruit that can be consumed by people, once cooked. Elderberry is a very small fruit with sesame shaped seeds that contain cyanogenic glycosides. Cyanogenic glycosides are found in apple seeds, apricot pits, and many other seeds, and when consumed in sufficient quantity, will cause stomach upset and diarrhea. The “Red Elderberry” (Sambucus racemose) is considered the most toxic of elderberries native to the US, because its seeds contain the most cyanogenic glycosides. Native to the great Northwest, red elderberry was an important staple to native Americans. They cooked the red elderberries to make jams, syrups and medicinal preparations for a millennia. Whether you are interested in growing the European Black Elderberry, (Sambucus nigra), the American Elderberry (Sambucus nigra ssp canadensis) the Blue Elderberry native to California (Sambucus nigra ssp. caerulea) or the Red elderberry, cooking the elderberries before consuming them destroys the cyanogenic glycosides that make the fruit toxic to humans. For more detailed information on these species, check out our blog post entitled "Are Elderberries Poisonous?"
Where to Buy Elderberry Plants
If you have time and interest, it is entirely possible to propagate wild elderberries. All you need is an identified, healthy, wild elderberry bush that you know consistently bears good quantities of elderberries and our instructions for how to make your own elderberry cuttings and how to root elderberry cuttings. Norm's Farms sells cuttings from our elderberry orchards between October and January of each year and now offers fully rooted plants for sale too. You can also buy established elderberry plants from nurseries like Hirts Gardens, Greenwood Nursery or Peaceful Heritage Nursery, to name a few.
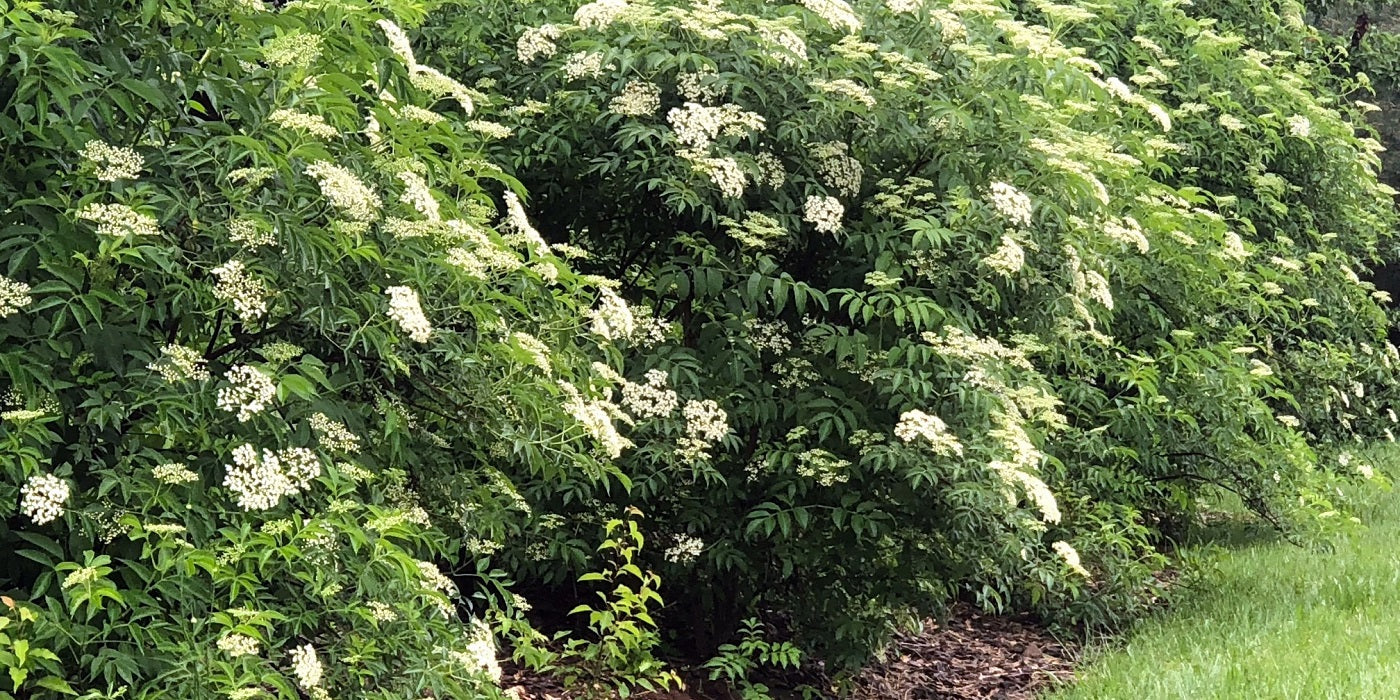
When and Where to Plant Elderberry
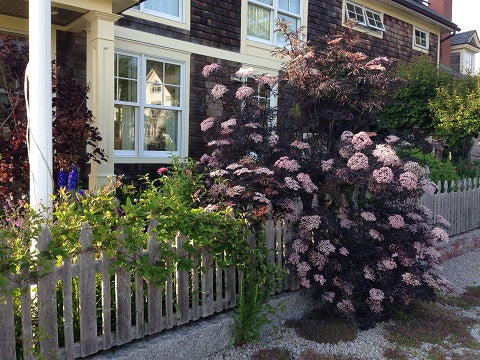
Fully rooted elderberries should be planted in the spring or fall for success. Regardless of the season, unless you are planting an ornamental like the Black Lace or Lemony Lace elderberry, you want to choose a site that will allow the plant to get as much as 12 feet tall and 8-10 feet across as well. Regardless of the type of elderberry you are planting, the site should receive at least 6 hours of direct sunlight a day and remember; Elderberry likes water! If you are considering planting the shrub in a location that will make it difficult or impossible to water every week, make sure that spot is near a creek or drainage ditch that drains areas above it so that the plant gets every opportunity for a good drink as often as Mother Nature will allow. Most thriving wild-growing elderberries can be found growing on creek banks and drainage ditches for this very reason.
Soil Preparation and Planting Instructions
All elderberries enjoy a good loamy soil. Loamy soils are those that drain well and contain the nutrients plants need to grow. The best way to create a loamy soil in your garden is to add organic matter to it every year. Since you’ll be planting your elderberry in a hole and hopefully not moving it again, we recommend digging a hole two feet deep and two to three feet wide for your elderberry. Once all the soil is removed from the hole, mix enough high-quality organic compost into the soil so that the resulting mixture is about 50% organic compost and 50% soil removed from the ground. Return enough soil to the hole so that the elderberry bush, when planted, will be even with the soil grade around it. Remove your elderberry bush from its pot and inspect the roots. Healthy roots should be white to cream colored, and some may even have a bit of a fuzzy appearance. If the plant is root-bound, (all you can see is a tangle of roots growing in a spiral), gently rough up the outside of the root ball to encourage the roots to grow outwards instead of in the spiral. Place the unpotted elderberry into the hole, again checking to make sure that the top of the elderberry’s roots will be either even with or just slightly below the surrounding grade. Do not plant your elderberry high as it will dry out too often. Return enough of the mixed soil and organic matter to the hole to fill it and, using your fist or your feet, gently tamp the soil down all around the elderberry to make sure the roots are in contact with soil. Add about a gallon of water and allow the water to percolate out. When the water has drained thoroughly, top dress the elderberry with a 2-3 inch layer of bark mulch or rotting hay.
Caring for Your Elderberry Bush
The greatest enemies of a young elderberry bush are competition from weeds and lack of water. Keeping the weeds away is essential, especially during the first year. First year Elderberries are shallow rooted plants so weeding should be done by hand or with a tool that doesn’t penetrate the soil more than a couple inches. Keeping your first year elderberry bush well mulched and weeded will do more for insuring the survival of your elderberry bush than just about anything else you can do. Established elderberries, three years old and older, develop significant tap roots and will withstand drought and heat.
Elderberries need a good drink of water every week during their first year. Elderberries are often said to be a plant that “sleeps, creeps and then leaps”. As such, expect most of the growth of your elderberry during the first year to be underground in the root zone. If the leaves are a healthy green don’t be alarmed if your elderberry doesn’t appear to be growing much during the first year. Water it once per week, pull out any weeds that have taken root, and pinch off any flowers that form as you want the elderberry to be putting all of its energy into its roots during the first year.
Weed your elderberry bush every spring and then give it a healthy top dressing of good organic compost, followed by another top dressing of bark mulch or rotted hay. Established elderberries tend to keep the weeds at a bay, and they will also appreciate all the help you can give them.
You will be amazed at the size of your elderberry bush when it is three years old! Every year in spring your elderberry bush will push up new, bright green canes and these canes often produce a single huge flower head, which will turn into a single, huge cluster of berries. If your elderberry bush is pushing up canes where you don't want them you can simply cut the unwanted cane(s) down at soil level or mow them down. Once your elderberry bush is 4 years old its a good idea to remove the oldest canes with a good pair of snips or pruning sheers. Four year old canes will be the thickest and woodiest, and often produce less berries than the younger canes do.
When to Expect a Harvest
Because you want to pinch off all the flowers your new elderberry bush produces during its first year, all you will get that year is a harvest of flowers. Many wonderful beverages and desserts can be made with the flowers and we have several great recipes using elderflower worth trying. You can also simply dry the flowers and use them for tea. You will get your first crop of berries in the second year if all goes well. Your first significant harvest will occur when your bush is in its third year.
Keep in mind that a good berry crop is dependent upon regular access to water, so in drought years it’s a good idea to water your established elderberries on a regular basis until the drought passes. Elderberry will always produce a larger quantity of juicy berries if they get regular watering, regardless of their age.
Be sure to check out our blog post entitled "When are Elderberries Ripe" for helpful tips on harvesting, cleaning and storage. While you are waiting for your first elderberry harvest, don't forget that Norm's Farms sells a variety of simple, pure and delicious products made from the elderberries we grow on our family farms!